Lesson 5
Admin Setup
Add properties, configure screening packages, payments, and notifications.
Work through each step in order, then mark the lesson complete when you are ready to continue.
Add your properties
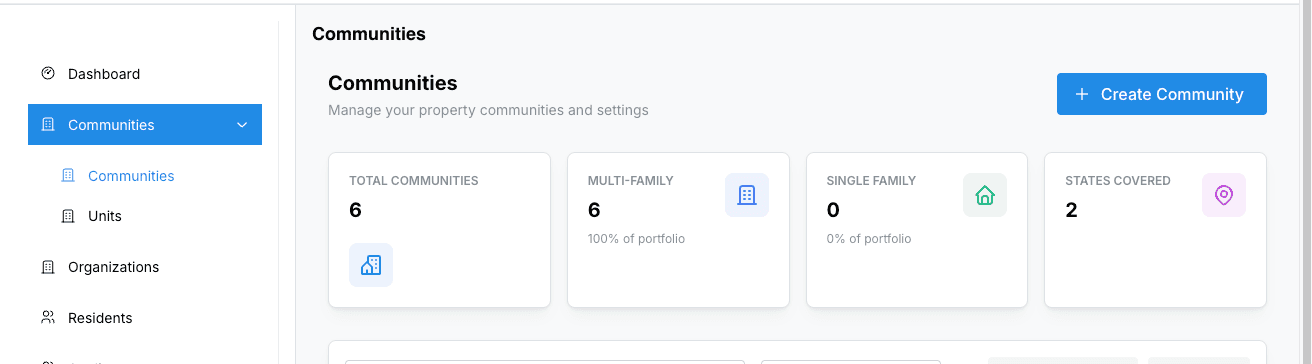
Go to Properties → Create Property. Enter information. Each property gets its own dedicated management view.
Configure screening packages
Under Settings → Screening, connect your background check provider (Western Verify) and configure which reports to run for each applicant type.
Steps:
1. Navigate to Settings → Screening tab.
2. Enter your Western Verify username and password.
3. Toggle between Test Mode (for trial runs) and Live Mode (for real checks).
4. Click "Save Credentials" to store your provider connection.
5. Under Screening Packages, click "Add Package" to create report profiles.
6. For each package, set the Name, Service Code (from Western Verify), Applicant Type (Standard, Guarantor, or Occupant), and whether it's the default package.
7. Enable or disable packages as needed — only active packages will appear during the application review process.
Contact support if you need help obtaining your Western Verify service codes or setting up custom screening packages.
Set up payment processing
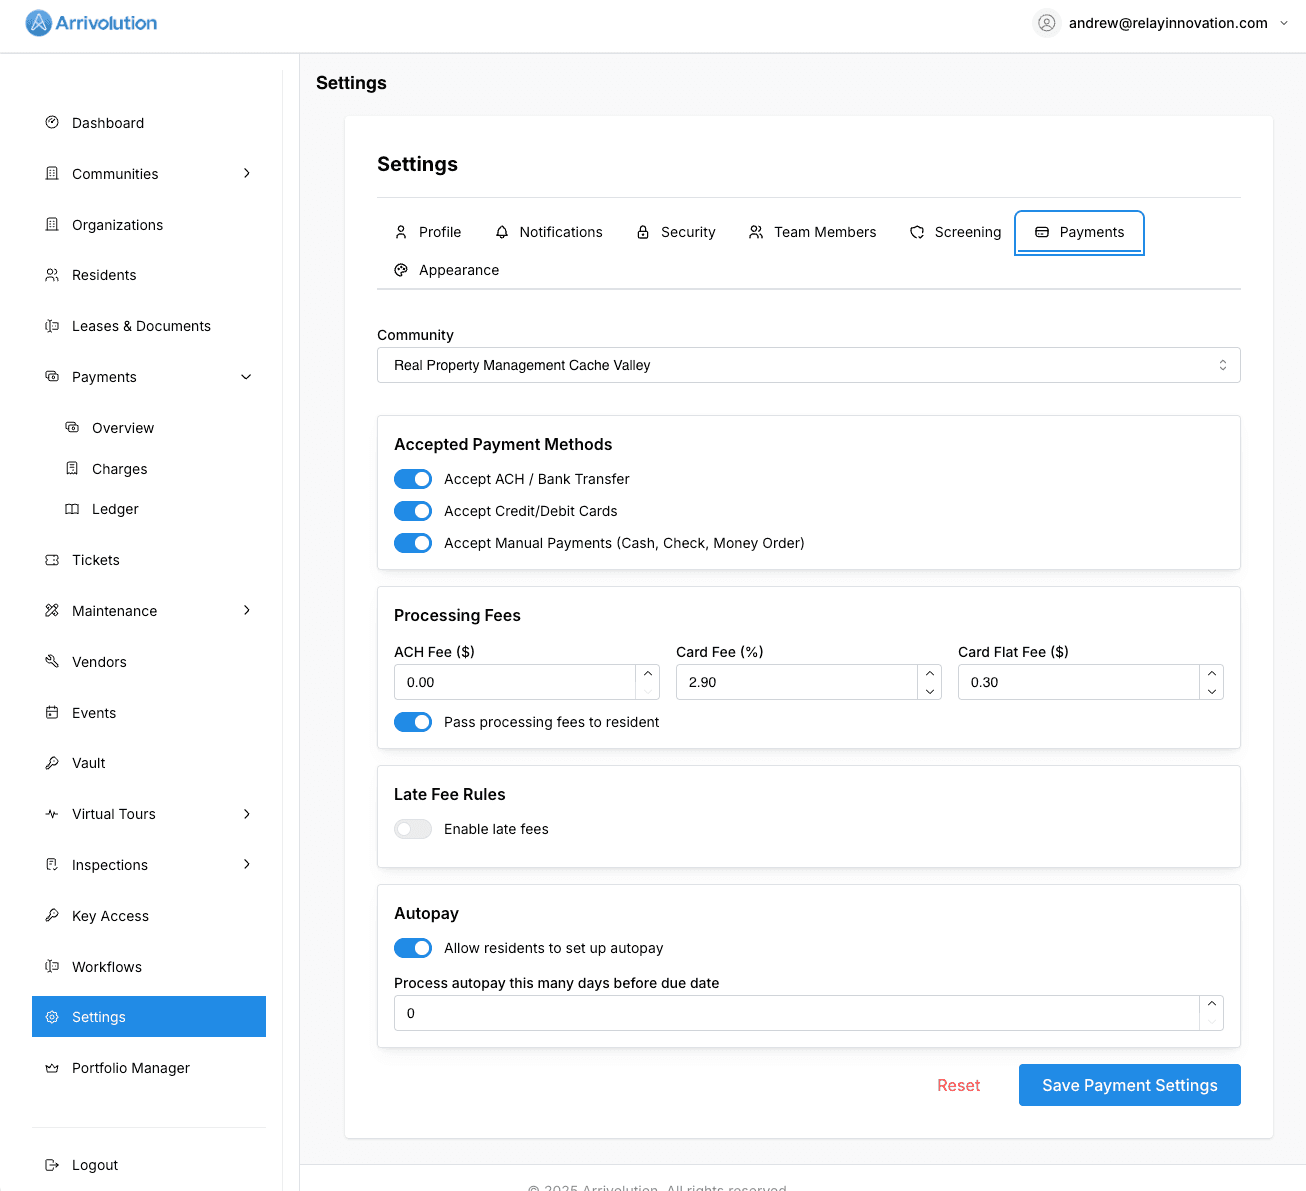
Navigate to Settings → Payments to configure how you collect rent and fees.
Steps:
1. Select the property you want to configure from the dropdown.
2. Under Accepted Payment Methods, toggle ACH/bank transfers, credit/debit cards, and manual payments (cash, check, money order).
3. Set Processing Fees — ACH flat fee, card percentage fee, and card flat fee. Toggle whether fees are passed to the resident.
4. Configure Late Fee Rules — enable late fees, choose flat or percentage type, set the grace period (days after due date), the fee amount, and an optional maximum.
5. Under Autopay, allow residents to set up automatic payments and choose how many days before the due date to process.
6. Click "Save Payment Settings" to apply.
Each property can have its own payment settings. Make sure to configure each property separately.
Customize notifications
Fine-tune which events trigger email or SMS alerts for your team and residents. Found under Settings → Notifications.